Overview
Protected Keys are a feature which can be used to prevent the API from responding with anything if the key is not provided in the request when retrieving.
It’s designed for attempts from unauthorised access by users to get a flag’s name before by guessing random IDs. Since RocketFlag allows queries to a flag ID without any kind of authentication, this protects the flag with a key you specify (or a random one) that needs to be provided before RocketFlag will respond correctly. Until then, responses from the API will be a 404 - Not Found response unless a valid key is included in the request. Unless you need to protect the name of the key from your end users, you probably don’t need this.
Protected key flags are designed for teams, so you’ll need to be on a teams plan to access this feature.
Usage
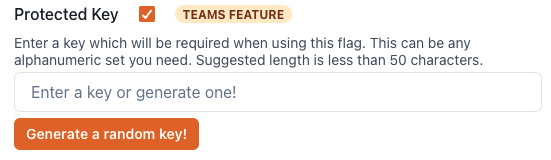
To start, edit or create a flag with a protected key. You can do this in the flag modal.
Once you’ve set your key, to use protected keys, you need to include the key in the request to the RocketFlag API. You can do this in one of
two ways. The first is in the header of your request. The key should be named x-rocketflag-key and the value should be your protected key.
For example:
curl -X GET \
  'https://api.rocketflag.app/v1/flags/<flagID>' \
  -H 'x-rocketflag-key: YOUR_PROTECTED_KEY'
An alternative would be to include the key as a query string parameter. For example
curl -X GET \
 'https://api.rocketflag.app/v1/flags/<flagID>?key=YOUR_PROTECTED_KEY'