Getting Started
Welcome to RocketFlag, it’s good to have you. First things first, you’ll need an account before going any further, so if you don’t already have one, you can register for free here: https://console.rocketflag.app. This guide will take less than five minutes to complete.
I also have a video demo of this over on this page, if you’d like to see it in action. Getting started (video)
With that out of the way, let’s get you up and running with your first flag.
Create a Project
To begin, you’ll need to create a project.
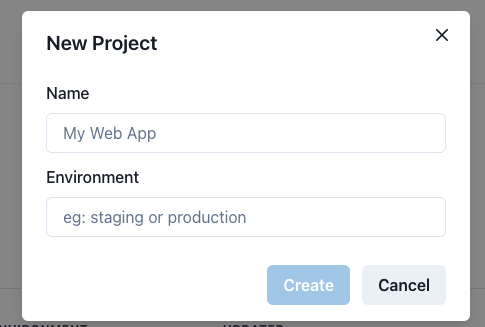
Then fill out the details of your project with the name of the project and an environment. These fields don’t have any effect on any part of the RocketFlag service, they just serve as ways to find the project you’re looking for if you have lots of projects.
After your project is created you’ll see it in the list.
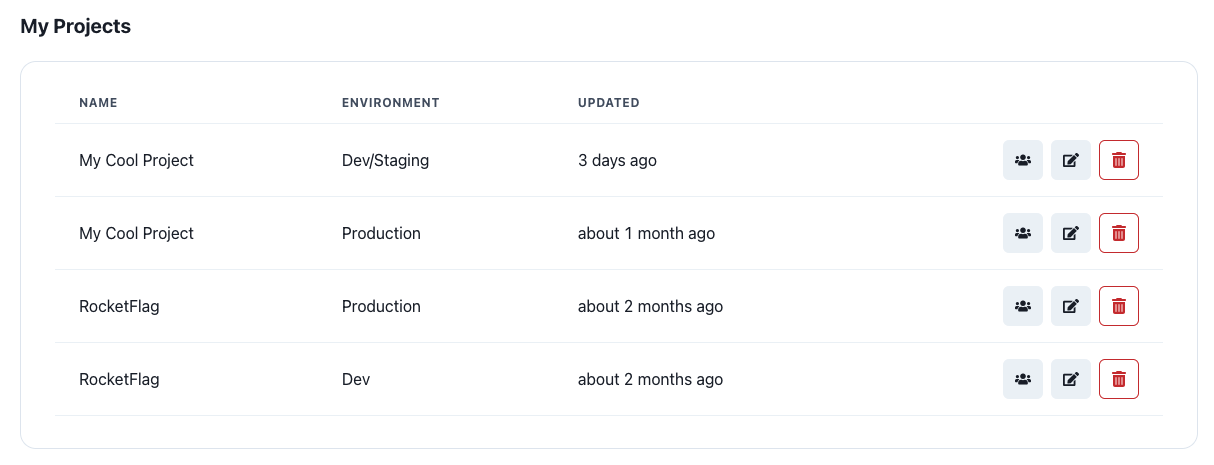
From here, choose the project you’d like to add your first flag to by clicking it’s name. You’ll then enter the projects screen, and see all the flags associated to this project. If you’ve just created the project, there won’t be any flags yet.
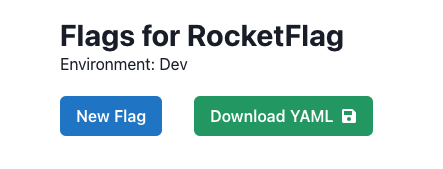
Create a new Flag
Click the New Flag button
Then in the modal that appears, give the flag a name.
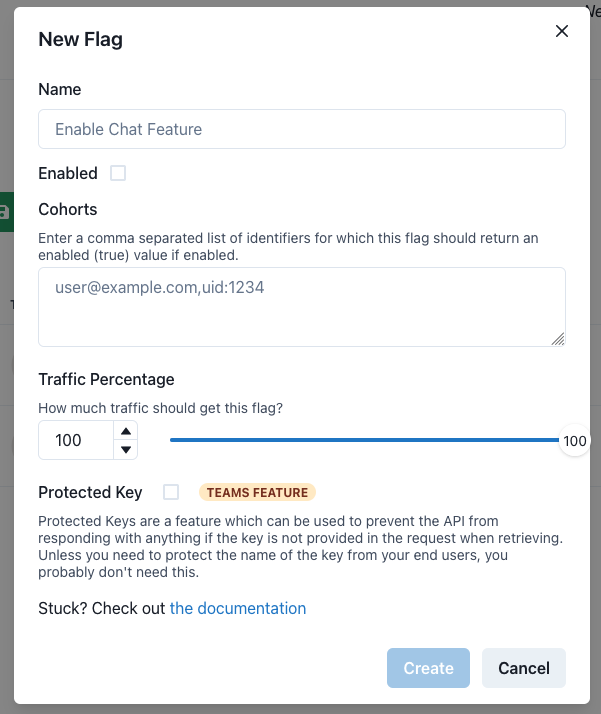
For now, give the flag a name and leave everything else as the defaults.
Click the create button at the bottom of the modal. Your flag appears in the table. Click the magnifying glass in the row of your newly created flag, on the right in the row, and see the modal that appears.
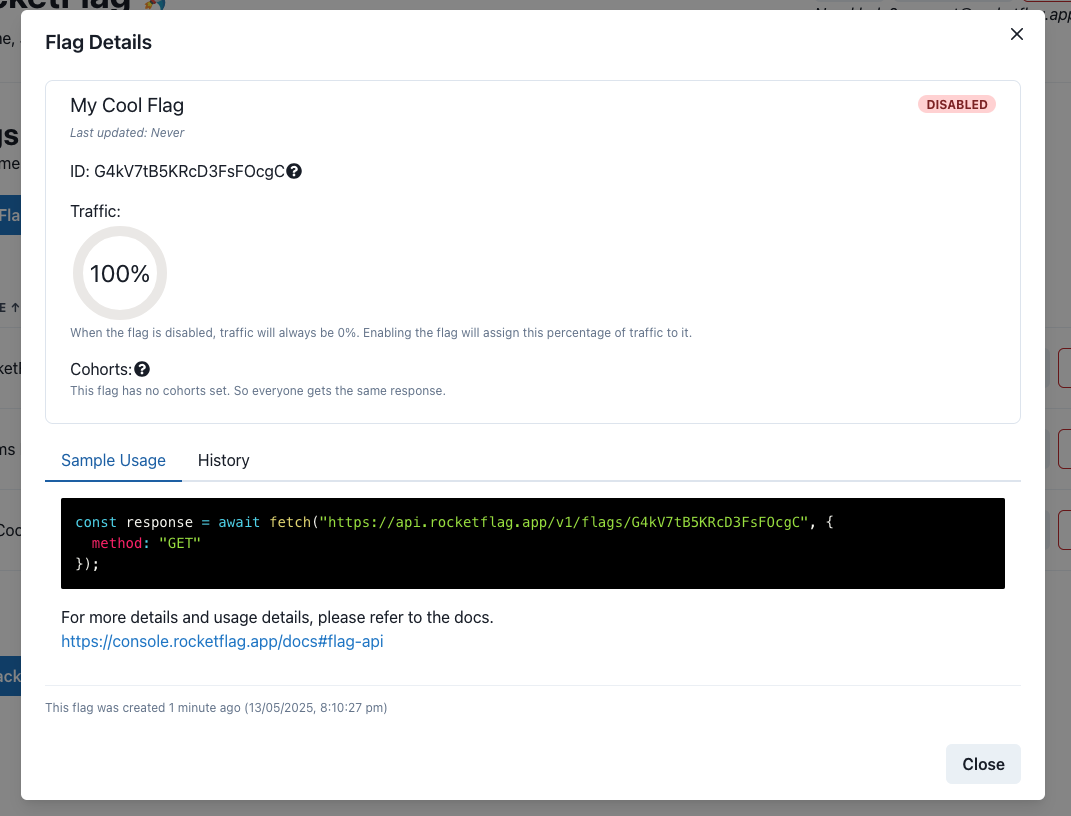
Here you can see the details of your newly created flag and some sample code to use it in javascript. Copy the url to your clipboard - eg, just the https part of the sample code in green displayed here.
Open a terminal window and run a cURL or similar depending on your operating system or open a browser window to test the flag, note that the API responds with the flag name, it’s ID and the flag status of enabled or not. In this case, because we have not turned the flag on, it will be false.

Now back in the web console, close the modal viewing the flag.
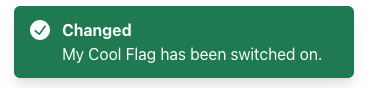
In the table, use the toggle in the middle of the row to turn the flag on. You’ll receive confirmation that the flag has been enabled.
Back in your terminal or browser window, re-run the curl command, or revisit the page. Note that the flag is now enabled.

Congratulations, you’ve just created your first project and flag in RocketFlag, and tested enabling and disabling it. Have a play around with the other features like cohorts and keys. If you get stuck, please reach out, I’d love to help you and improve the experience so that everyone else can benefit! Have fun with RocketFlag and enjoy faster releases for your team and your customers!
Read next: RocketFlag concepts